Mac local development environment
This guide will take you through setting up a fresh mac to develop slate. We're assuming that:
- You're an administrator on your computer
- You've already been setup with github and ready to pull code.
- You have basic competency with MacOS and know your way around a terminal.
All the commands below should be run on your local mac in terminal unless otherwise specified.
WARNING
Throughout this document, and in various files you'll need to edit, you'll see something like <VARIABLE>. These are places you need to replace with the values called for. Like <USERNAME> might become ehutchinson. Anything in brackets like that will most likely cause things to fail if you don't do the replacement.
Get your hostname working
We need a hostname for some config files, and unless we only ever want to be localhost, we need to set something. Change the <HOSTNAME> in this command and run it.
echo "127.0.0.1 <HOSTNAME>.slate-erp.app" | sudo tee -a /etc/hostsTurn on the Firewall
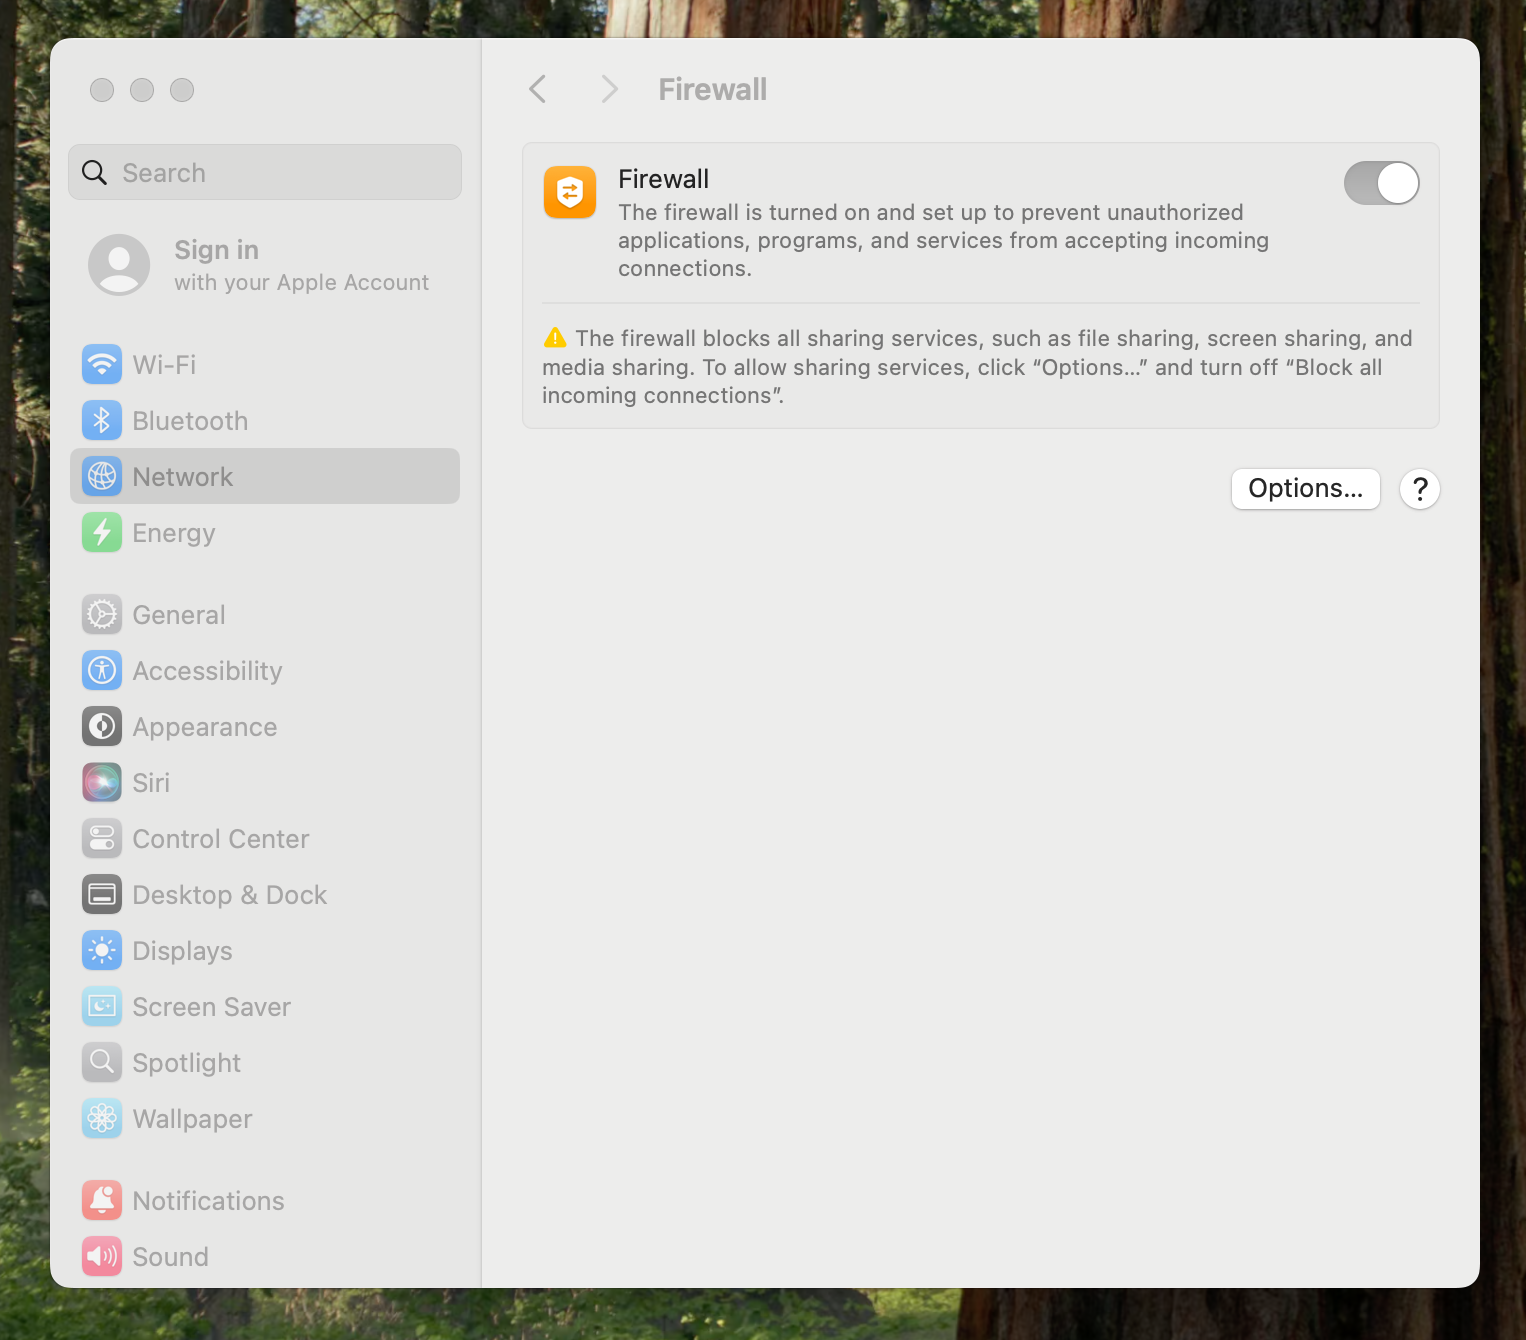
The first thing you want to do is ensure the firewall is on. This prevents us from accidentally exposing any services to the network that we don't want to.
- Open system preferences
- Open the Network option in the sidebar
- Goto the firewall option
- Enable the firewall toggle
- Click the Options button
- Enable the block all incoming connections toggle

Generate SSH keys
We're going to need ssh keys for communicating with github, and any servers you need to administer. You might already have a set you want to use, in which case getting your keys setup is left as homework for the reader.
First let's double check we don't have any keys already.
ls ~/.ssh/If it responds with something like ls: /Users/jansy/.ssh: No such file or directory, then we don't have any keys, and need to follow the rest of this section. If it lists keys, then go ahead and skip ahead and skip to the part about adding the key to git hub.
- Make sure to swap out
<YOUR EMAIL HERE>with your actual email. - Hit enter when prompted for a directory. Unless you know why not, you want the default
- Hit enter when prompted for a password. You can setup ssh-agent, but that is beyond the scope of this document.
mkdir ~/.ssh && \
chmod 700 ~/.ssh && \
touch ~/.ssh/authorized_keys && \
chmod 600 ~/.ssh/authorized_keys && \
ssh-keygen -t ed25519 -f ~/.ssh/id_ed25519 -C "<YOUR EMAIL HERE>"Dev Dependencies
XCode command line tools
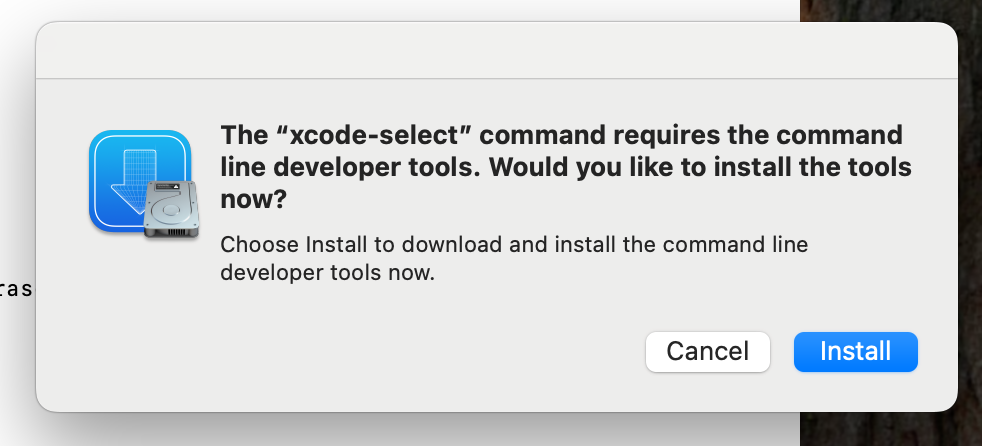
First we're going to install the standard Xcode command line tools. These tools include git, as well as other tools that would normally be installed on an ubuntu server or such.
xcode-select --installThis will generate a gui prompt to install the Xcode command line tools. Make sure to click install, and agree to any license prompts.
Homebrew
Next we'll install the package manager that will allow us to easily install all the unix utilities like any standard linux/bsd distribution.
/bin/bash -c "$(curl -fsSL https://raw.githubusercontent.com/Homebrew/install/HEAD/install.sh)"The install process will ask you to hit enter to confirm, and then for your system password to run sudo commands.
Don't forget to add Homebrew to your environment.
echo >> ~/.zprofile
echo 'eval "$(/opt/homebrew/bin/brew shellenv)"' >> ~/.zprofile
eval "$(/opt/homebrew/bin/brew shellenv)"Dev Requirements
Now that we have homebrew, we can use it to install the apps we need to start developing slate.
Outside of git, we can actually grab these programs manually from their websites if you want. We're using Homebrew as a convience to bootstrap a known set of tools.
brew install orbstack visual-studio-code git git-lfs github sequel-ace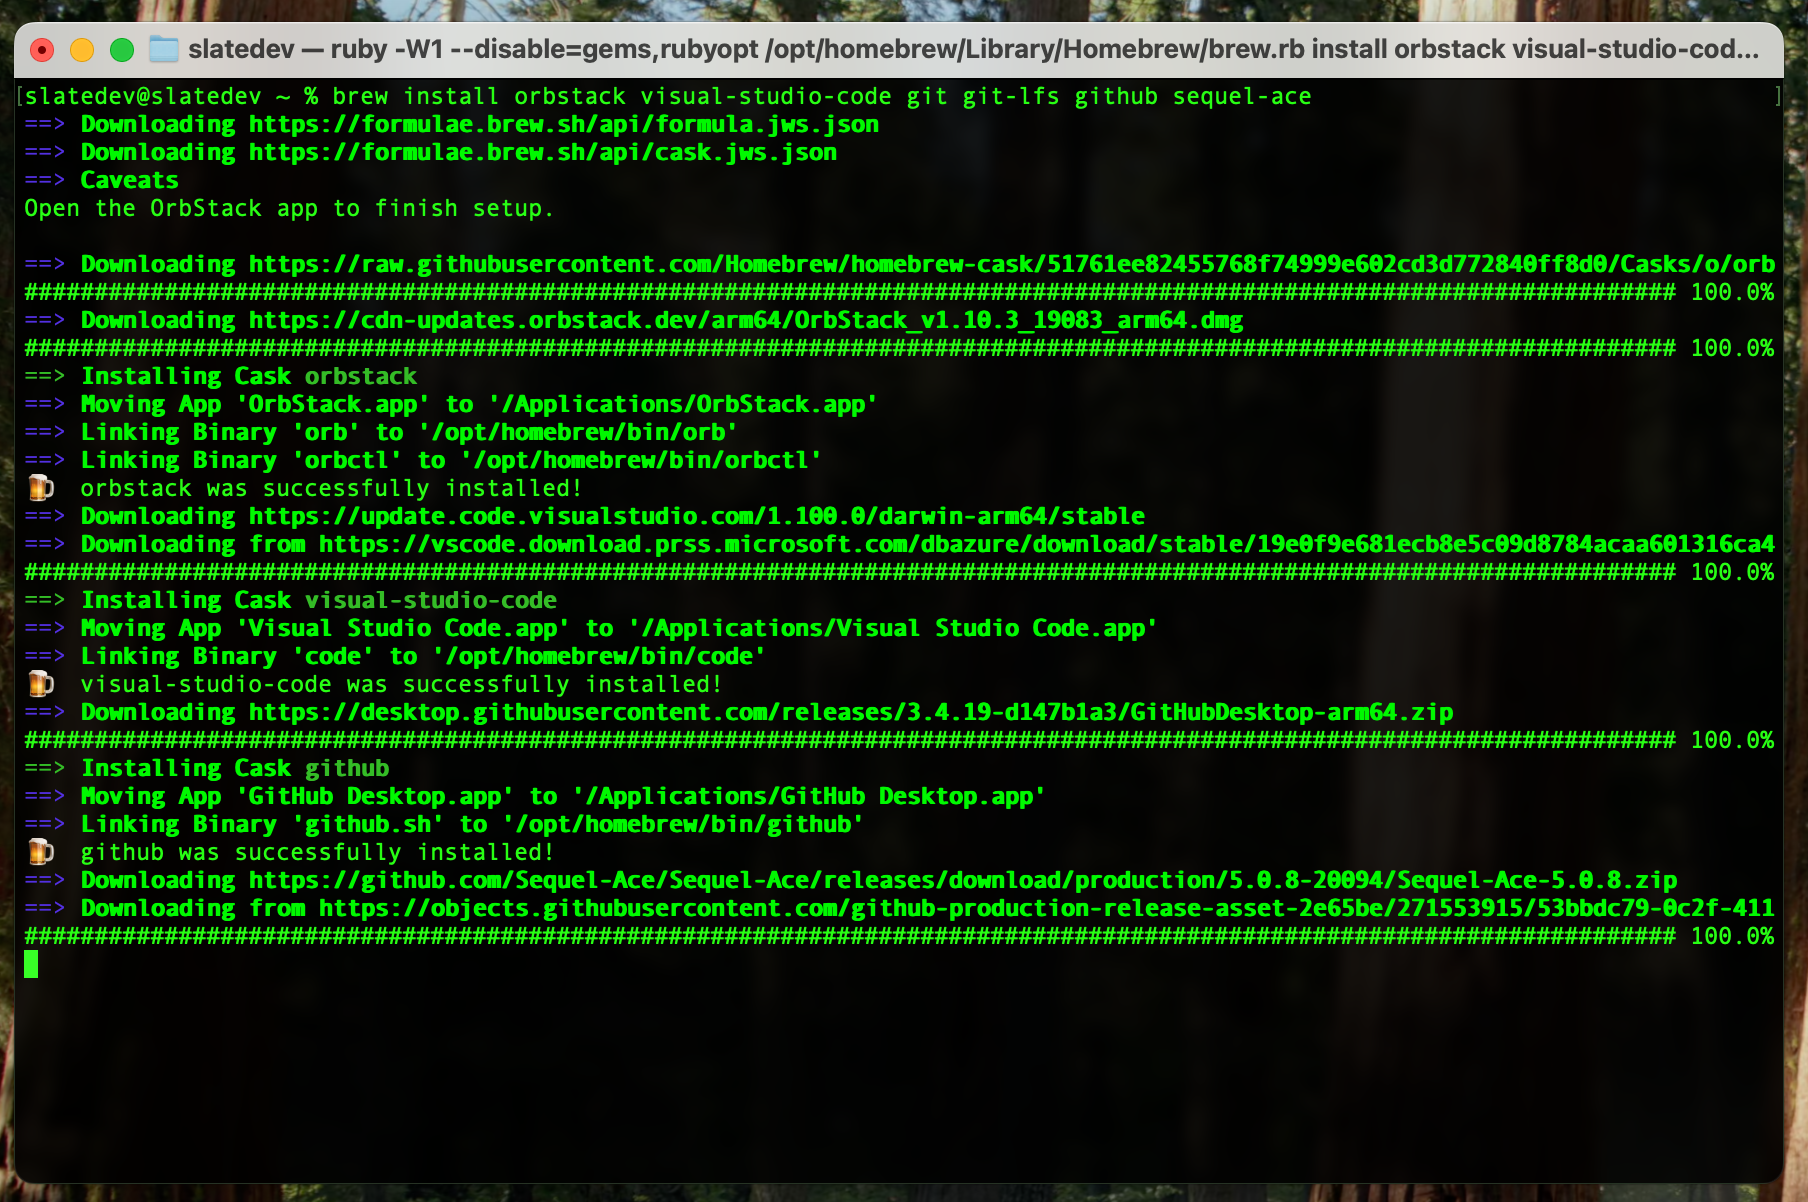
TIP
These are a default set of tools. It provides docker, an editor, and vc and db tooling. Depending on preferences, you might want to install tableplus instead of sequel-ace, or swap out an editor. However, these are the tools we'll be working with in this guide. If you swap tooling, you'll need to make adjustments for what you are using.
We're going to install some extra command line stuff for vs-code. This will let us pop open VSCode from the command line. Totally not required, but helps with this guide at least. This is straight from the VSCode docs.
export PATH="\$PATH:/Applications/Visual Studio Code.app/Contents/Resources/app/bin" && \
cat << EOF >> ~/.zprofile
# Add Visual Studio Code (code)
export PATH="\$PATH:/Applications/Visual Studio Code.app/Contents/Resources/app/bin"
EOFDev Extras
Next we might want to install some extra stuff. Once again, you can actually grab these from their websites, but Homebrew is letting us snag them all at once.
brew install google-chrome firefox@developer-edition weztermWe gerenally target Chrome, if only because the dev tools seem to work the best and it has the bulk of our users.
Firefox gets an install because it's usefull for a second anonymous browser. We're using the dev edition for a few small things that are enabled by default.
Wezterm is a better browser than the basic terminal, and allows us to store it's config in git, if that's your thing.
Start OrbStack
When you first start OrbStack it'll ask you what you want to use. Select Docker.
OrbStack will then pop open it's main screen and update some components. Once it's settled we can proceed
Open up the OrbStack settings with CMD + , or through the OrbStack menu -> Settings.
The particular thing we need is on the last tab, storage. You want to turn on the 'Hide OrbStack volume' checkbox.
You can also tweak resource limits if you need to, under the 'System' tab.
Github Setup
First if you don't have a Github account, go ahead and create one.
Now we need to add the key to your github account. Github has a excellent help page that will walk you through this: Adding your ssh key to your github account
First let's add our ssh key to our github account. Visit the github ssh keys page. Create a new key. You can give it whatever title you want. Something like 'my laptop' works.
In order to get the public key content, run this command and copy/paste the output.
cat ~/.ssh/id_ed25519.pub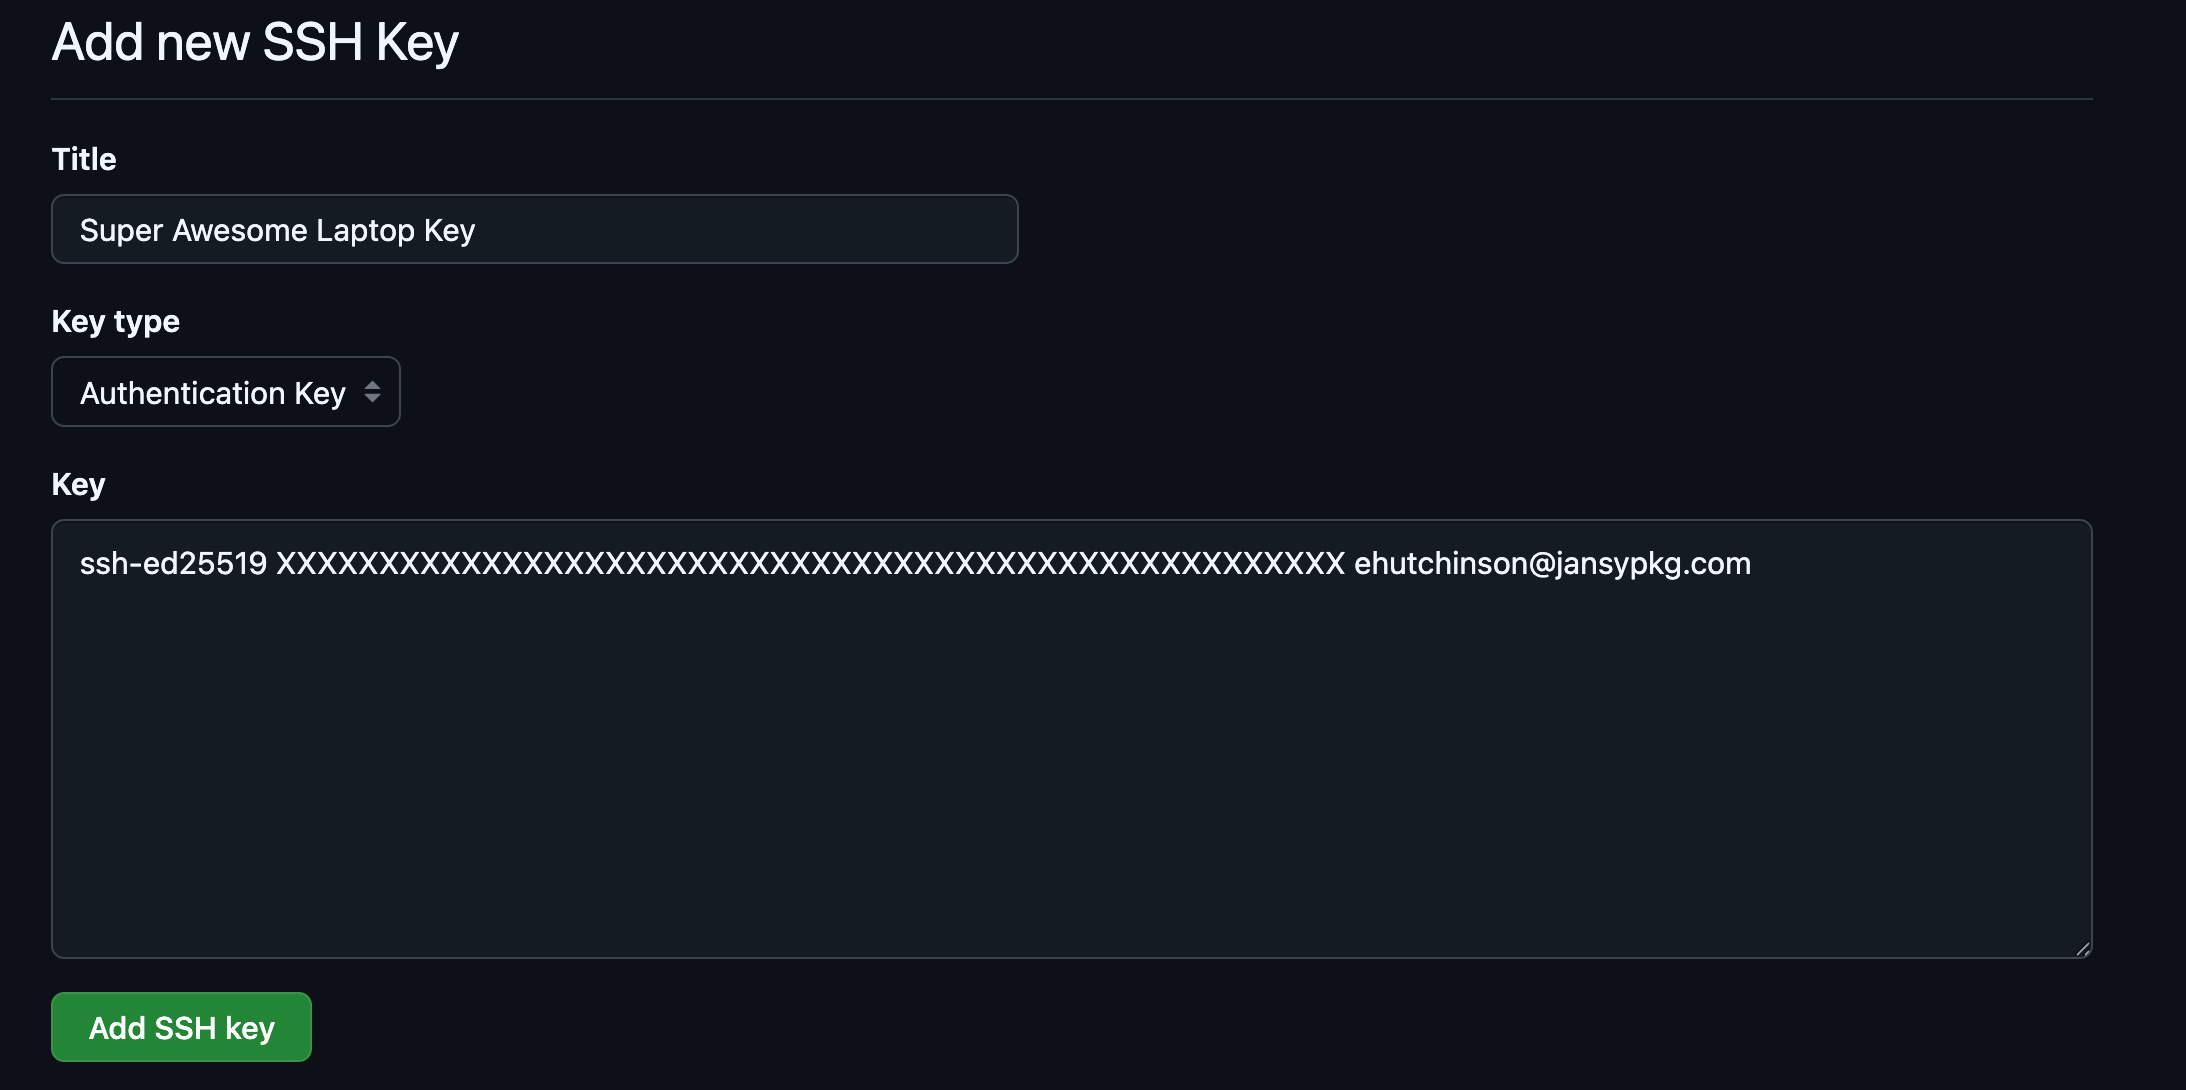
Next we need to create a token for logging into docker.
Visit the developer settings page and then personal access tokens, and then Tokens (Classic). Click the dropdown and generate a new classic token.
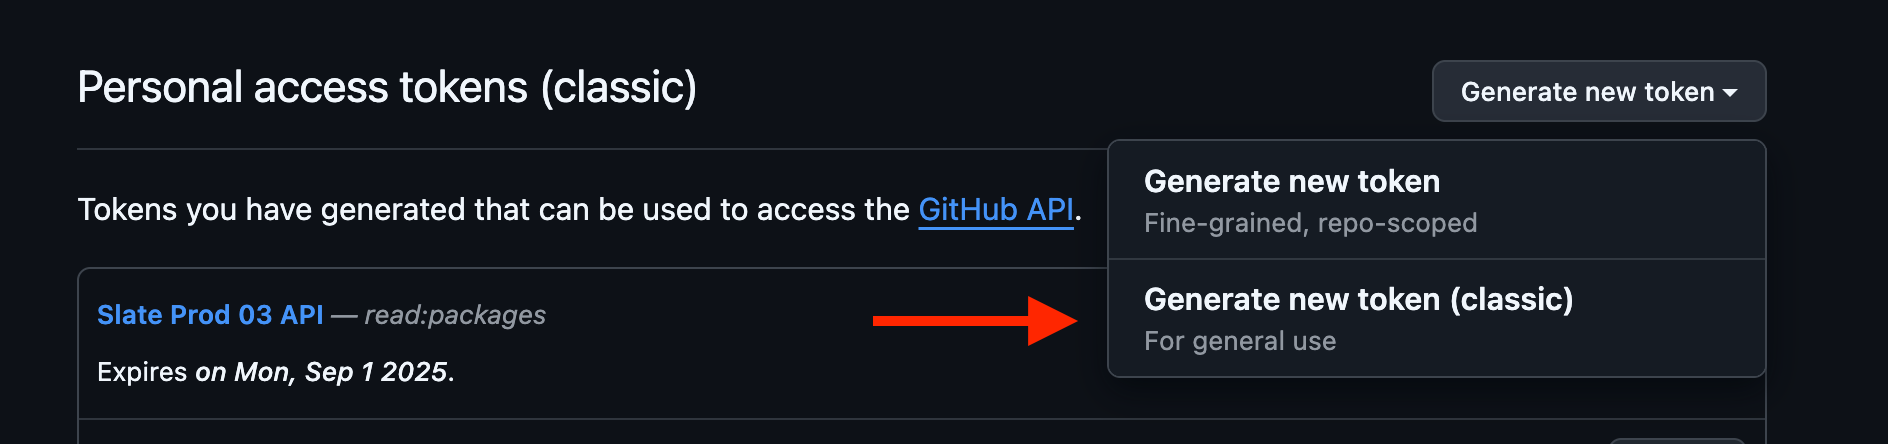
Name it something like 'Laptop Docker - 2025-12-31'.
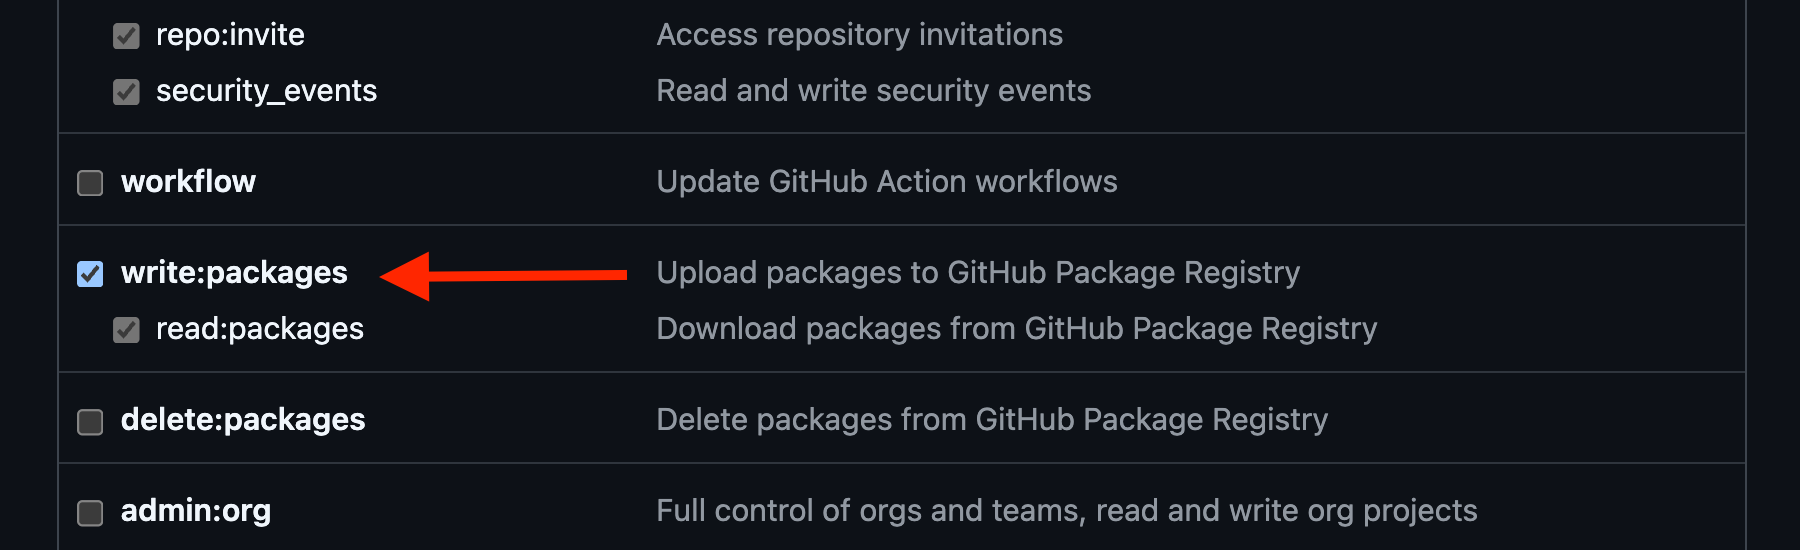
If you're not in charge of building docker containers, only check "read:packages". If you need to build / deploy containers, check "write:packages". It's better to er on the side of caution here. You can always create a new key later. Leave everything else unchecked.
Select an expiration time that makes sense. For security reasons we want to rotate these keys regularly. 90 days is fine.
Make sure to copy they key, and then we'll use it to log into githubs docker registry. First let's drop the token into an evironment variable.
We'll use your github accounts email as <USERNAME/EMAIL> below.
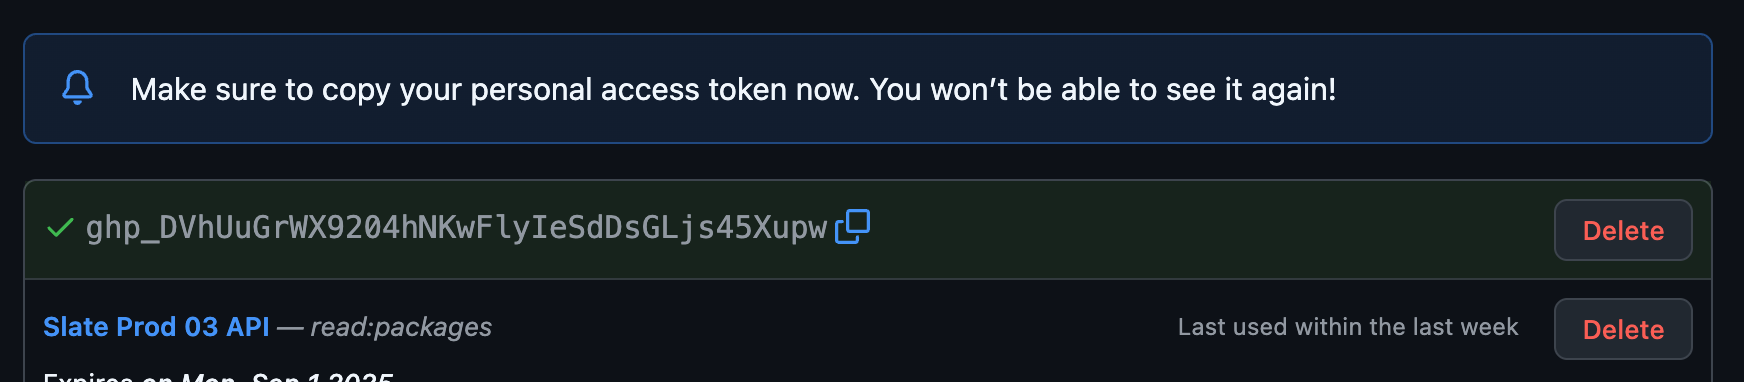
export CR_PAT=<TOKEN>echo $CR_PAT | docker login ghcr.io -u <USERNAME/EMAIL> --password-stdinSlate Source
Now that our basic development environment is installed, let's get our code ready to run.
Create Directories
The first thing we need to do is create a directory for our copy of slate to line in.
mkdir -p ~/Sites/SlateBackend
Let's start with out backend. Because if that's not functioning, we only have a pretty screen with a bunch of bad gateway errors to look at.
First let's get the code we're going to use.
git clone [email protected]:JansyPKG/slate-v4-backend.git ~/Sites/Slate/backendThe first thing we need to create the .env file. Without this docker will choke.
touch ~/Sites/Slate/backend/.envNow let's get our backend started up. During our first startup, this will take a while to download all the base images.
cd ~/Sites/Slate/backend
docker compose up --build -dTIP
You can test that the site is function with this command. It should print out something like ""192.168.107.1". Run this in a new terminal window or tab.
curl http://localhost:8000/api/v1/auth/get-ip/We next need to run migrations.
docker compose exec -ti api uv run manage.py migrateThis will apply all the database migrations we've created. Since we havea fresh database, this is going to take a while. Go grab a snack.
Now we need to create our own user to login with. Make sure to replace the email with the one you created the super user with. Copy the first line seperately so you can set the email, then you can copy/paste the rest.
export SUPER_EMAIL=<EMAIL>

docker compose exec -ti api uv run manage.py createsuperuser --email $SUPER_EMAIL --skip-checks && \
docker compose exec -ti api uv run manage.py addusertogroup $SUPER_EMAIL "IT Staff" --skip-checks && \
docker compose exec -ti api uv run manage.py add_contact_to_company $SUPER_EMAIL "Jansy" --skip-checksYou should now be able to log into the admin site: http://localhost:8000/admin/
Frontend
Let's start with grabbing the code
git clone [email protected]:JansyPKG/slate-v4-frontend.git ~/Sites/Slate/frontendWith the code downloaded, we need to create a settings file. Edit the file blow, and enter the .env following.
code ~/Sites/Slate/frontend/.envVITE_API_URL = "/api/v1/"
VITE_PROXY_HOST = 'http://api:8000'Just like the backend, now we need to kickstart the docker container.
cd ~/Sites/Slate/frontend
docker compose up --build -dYou should now be able to login at http://localhost:5173/. Hopefully you won't run into issues with permissions.
Working on Slate
Congrats on getting Slate up and running 🎉. It's not much use unless we're going to actually get some work done though.
Opening Repos
While we could open our repos directly in VSCode, all our tooling is in our containers. That includes things like our runtimes, linters and formatters, package managers, and the like.
So we're going to use VSCodes built in dev container functionality to edit our code.
Go ahead and open a new VSCode window if you're not already looking at one.
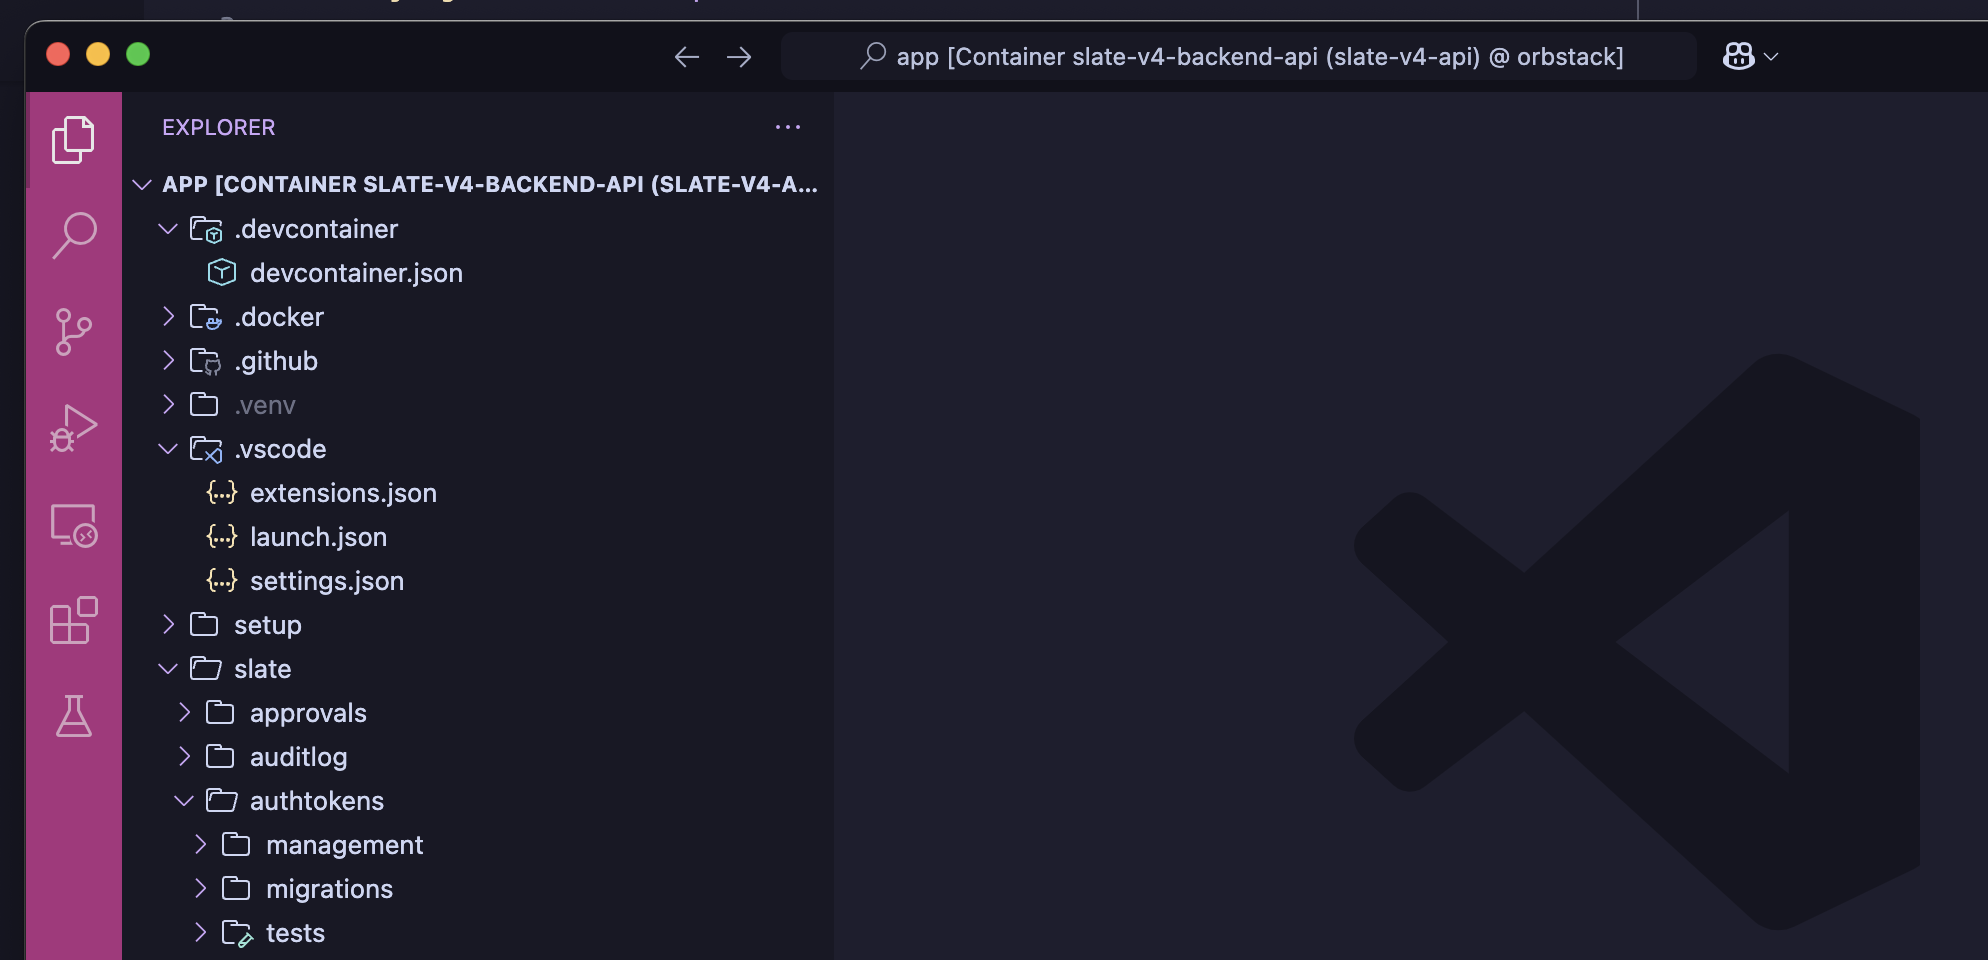
Find the containers icon in the sidebar. This will bring up a panel with a list of running containers. You should be able to find something like 'slate-v4-api'. Hover over it and there should be an arrow icon that will let you open the container in the current window. (see below)
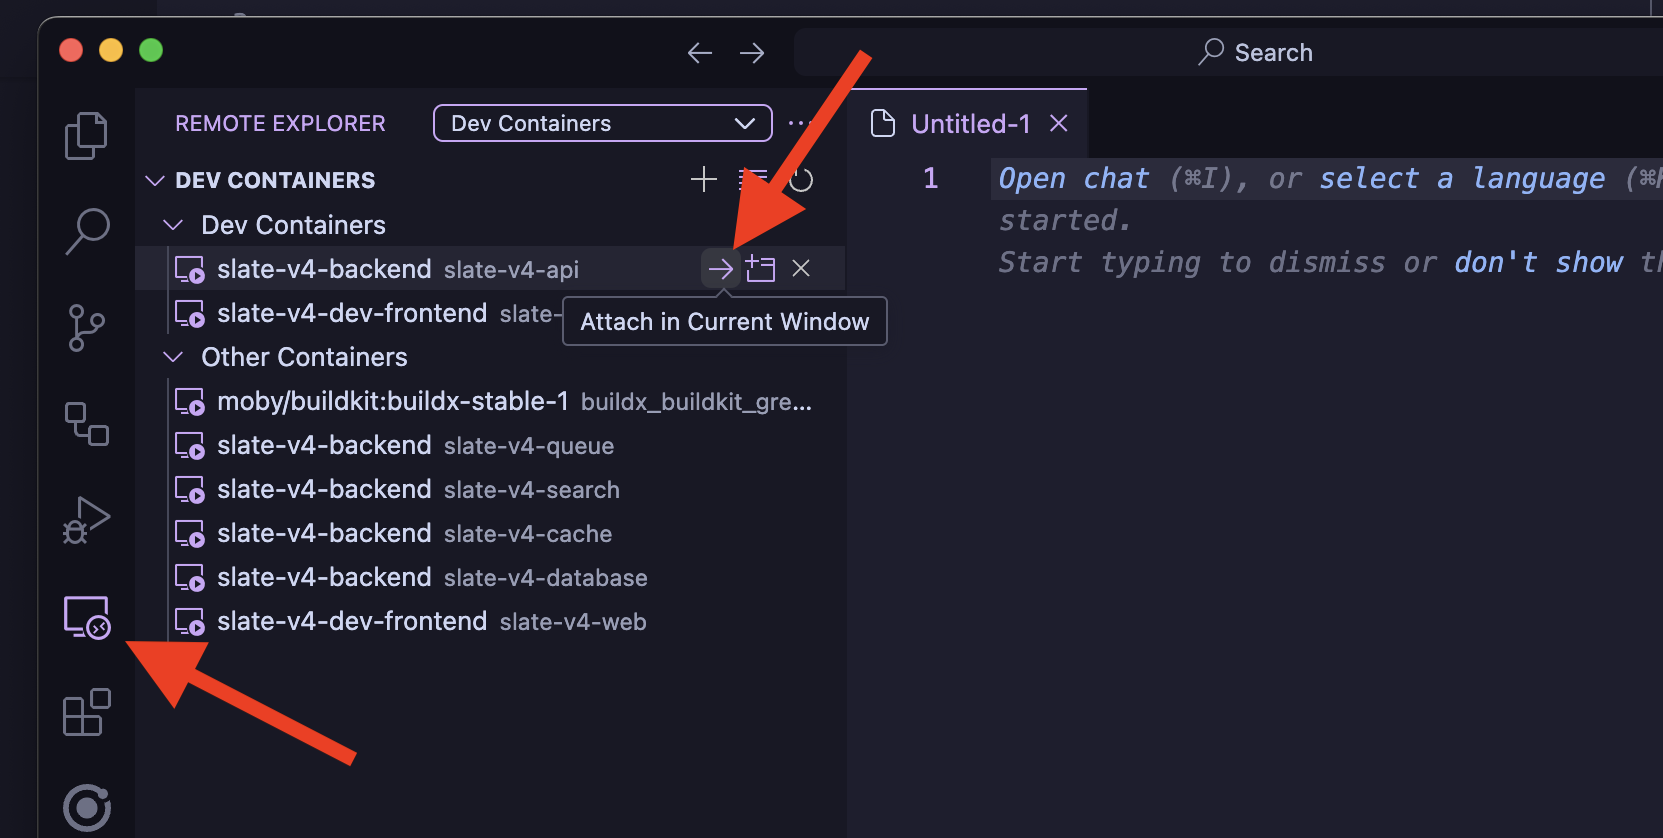
Once connected the containers colorscheme and other settings will apply themselves. Please allow any extensions to install and add themselves to the container. We've curated a selection of extensions for formatting, linting, etc.
You'll also notice that the titlebar will say that it's connected to a container and which one it's in.
Examining the database
Sometimes you'll need to look at the raw database records to debug tough issues. You can do this command lines, but sometimes you just want to avoid SQL. That's why we setup the sequel-ace. Or TablePlus, or whatever your tool of choice is. We'll be covering the open source tool below.
TODO: Sequel ace setup
Git and Github Desktop
Once again, we can absolutely handle git on the command line. Sometimes there's no way around that. However a nice single click interface is faster for simple tasks.
Open up git and complete the initial setup. You'll need to login to github.com through a browser.
Once you're on the welcome screen, choose to add a local repo. When it asks for a path, go ahead and select the backend folder.
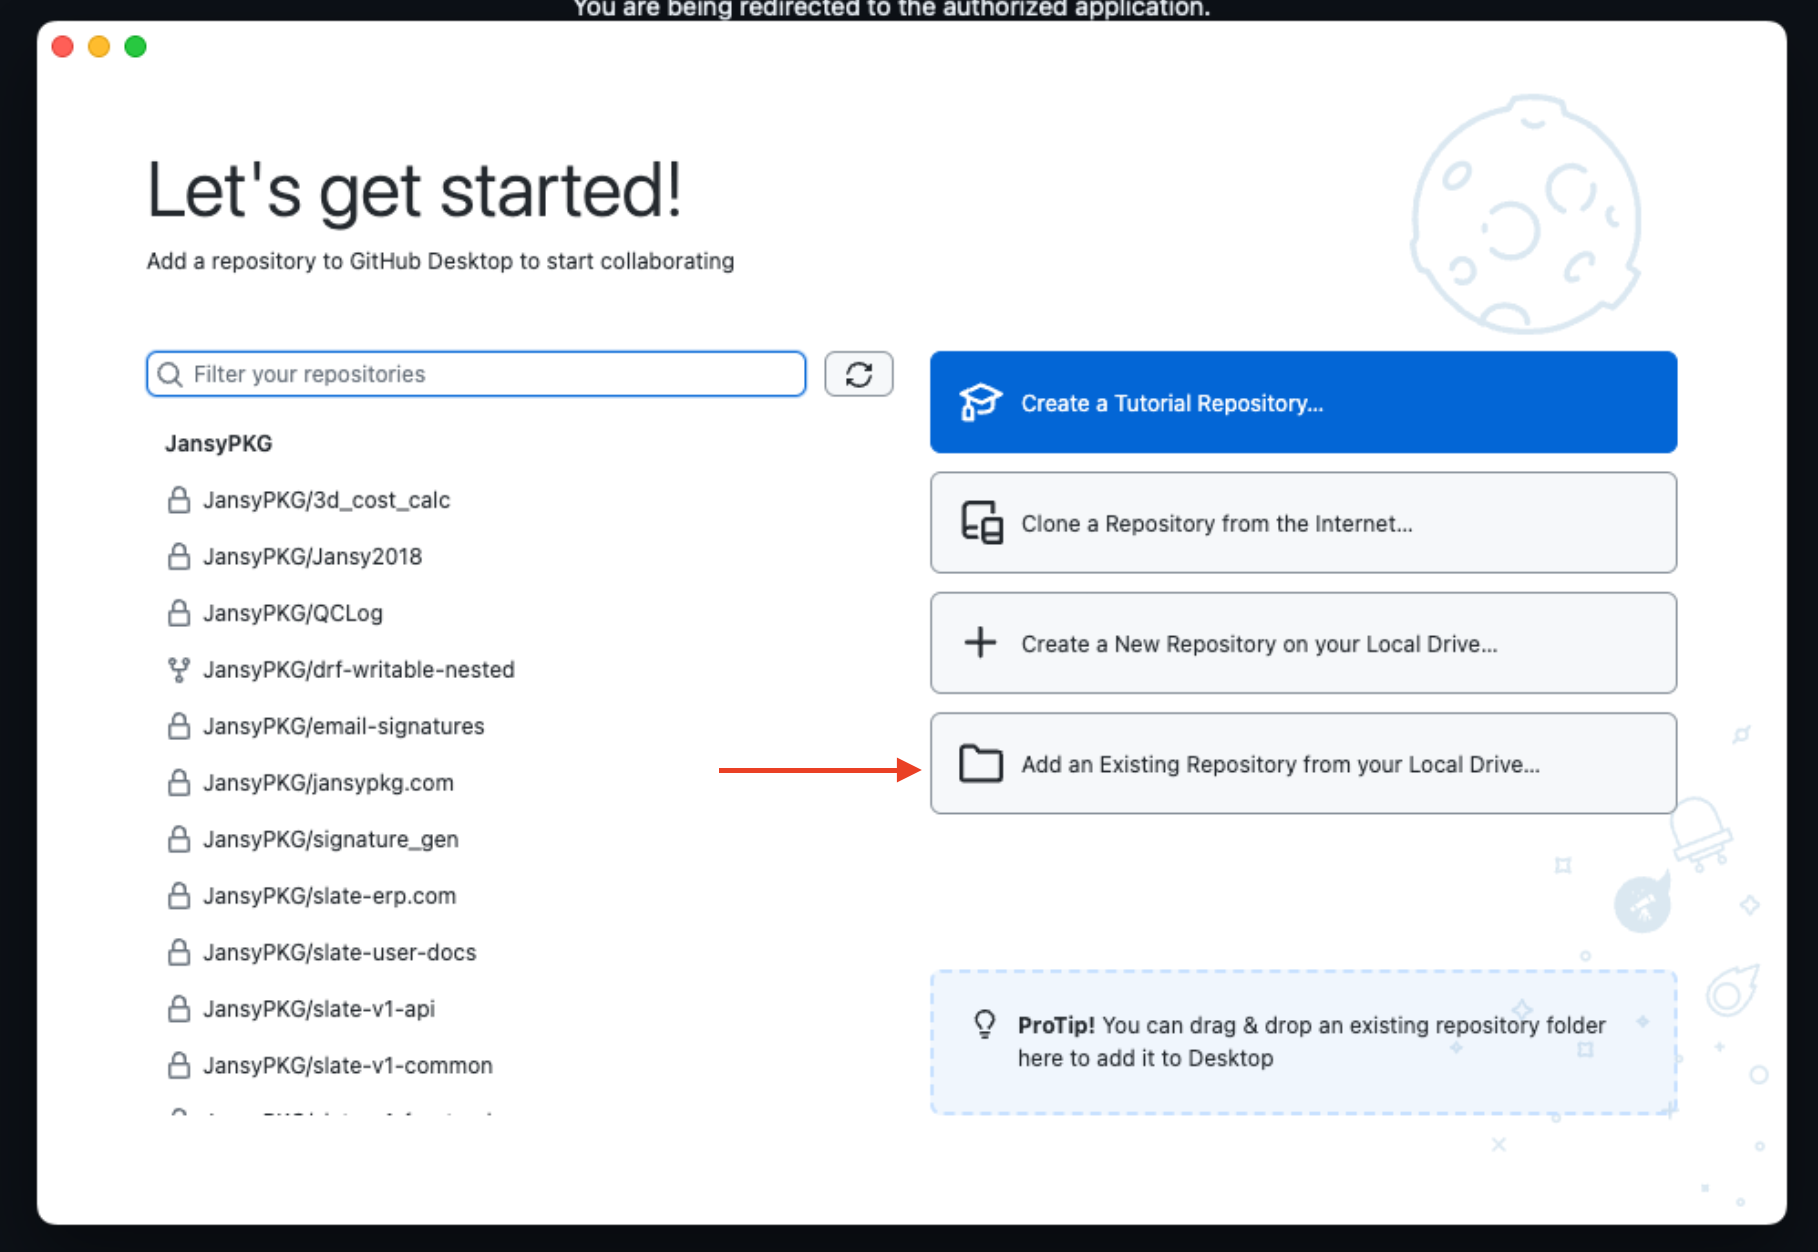
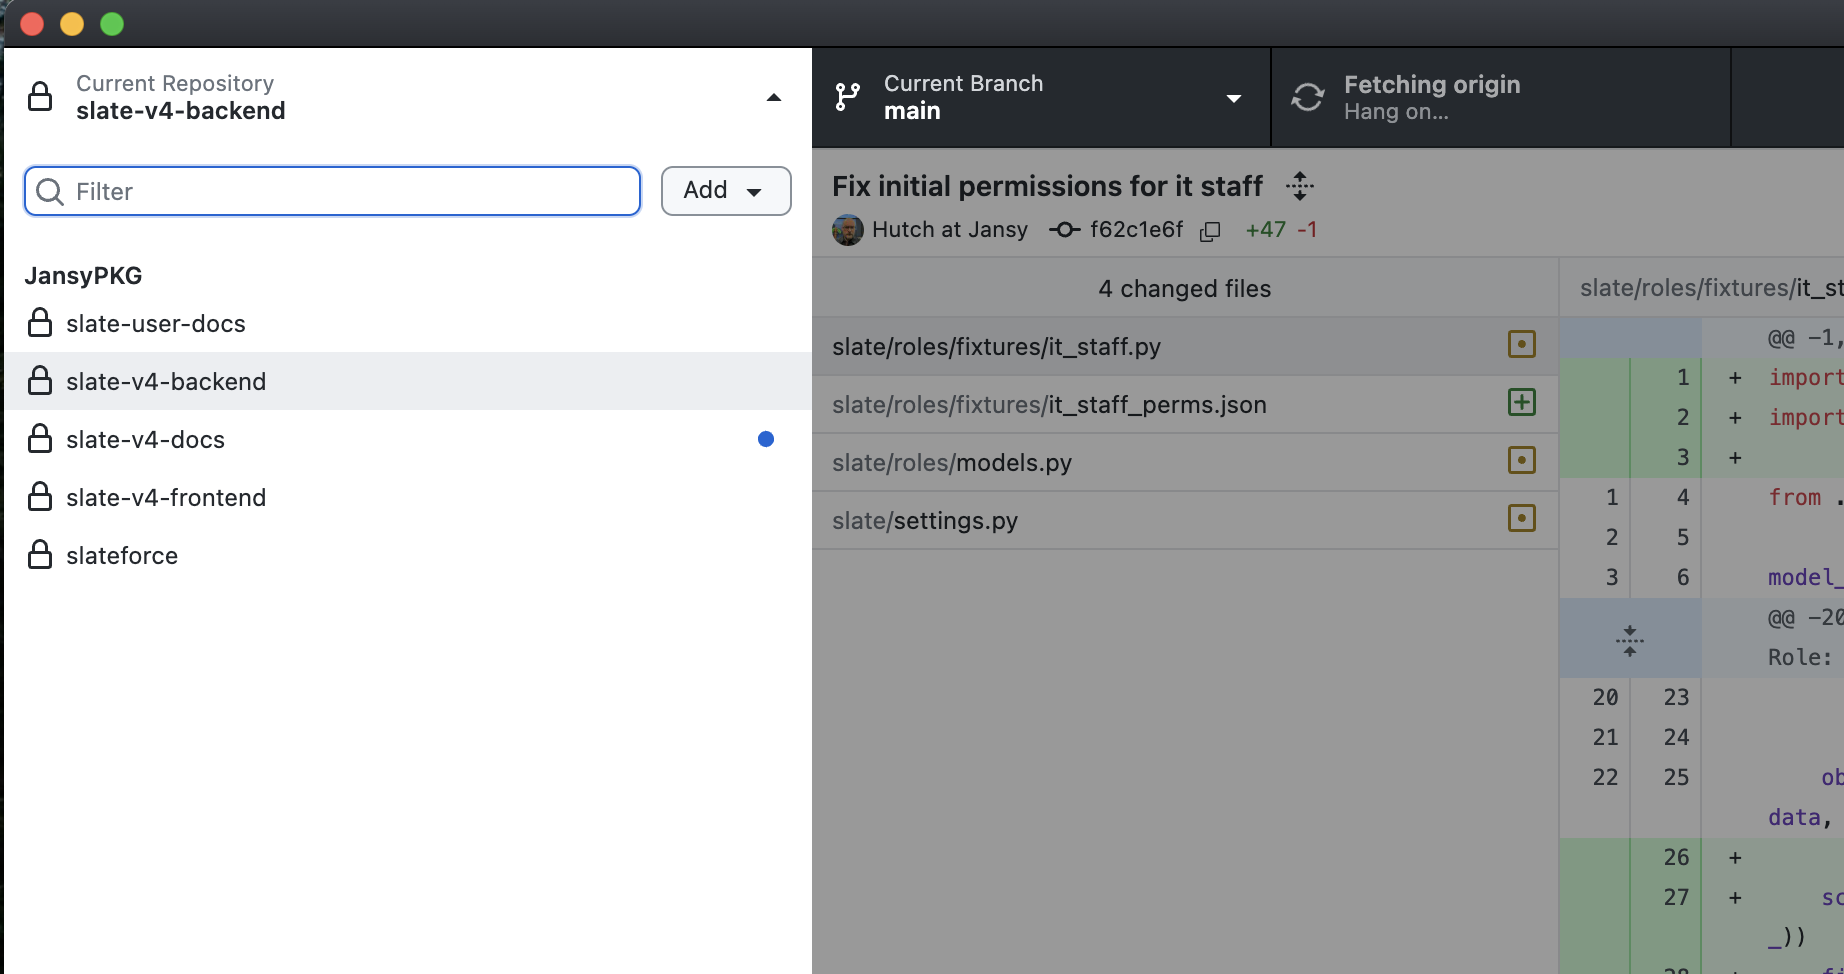
Once you've added the repository, you'll see it in the repo dropdown. Next, go ahead and use the add dropdown the frontend as well.
Get to work!
Now we should have everything local setup. Time to get to work.